Sending test HTTP traffic with Hyperfoil
This is a brief overview of Hyperfoil, the “microservice-oriented distributed benchmark framework”

I needed to send some requests to my microservice and a colleague suggested to use a tool that I did not know: Hyperfoil. Basically, you can configure a load that will be sent to a set of HTTP endpoints. Something nice about Hyperfoil is that the core of it is concurrent. The tool will not be a bottleneck when sending lots of requests, as could happen with others. Below I describe a short tutorial about how to use it.
The first step is to download the binaries and save then in a known directory. Once there, you can access the CLI:
cd hyperfoil-0.27.1/
./bin/cli.sh
help
The latest command shows all options, but I will just focus on a simple execution of the tool. Next execute
start-local

to start a controller within the CLI. The next step is to upload the configuration file. This is an example that I will explain:
name: my-benchmark
http:
  host: http://localhost:8080
  sharedConnections: 60
phases:
- main:
    constantRate:
      startAfter: rampup
      usersPerSec: 750
      duration: 300s
      forks:
      - createJournal: &createJournal
          weight: 3
          scenario:
          - putJournal:
            - randomInt:
                min: 1
                max: 10
                toVar: id
            - httpRequest:
                PUT: /v1/subscribers/${id}/journal
                headers:
                  Content-Type: application/json
                body:
                  fromFile: journal.json
      - createSubs: &createSubs
          weight: 2
          scenario:
          - putSubs:
            - randomInt:
                min: 1
                max: 10
                toVar: id
            - httpRequest:
                PUT: /v1/subscribers/${id}
                headers:
                  Content-Type: application/json
                body: |
                  {
                  "site": 0
                  }
      - getSubs: &getSubs
          weight: 1
          scenario:
          - getSubs:
            - randomInt:
                min: 1
                max: 10
                toVar: id
            - httpRequest:
                GET: /v1/subscribers/${id}
- rampup:
    increasingRate:
      initialUsersPerSec: 3
      targetUsersPerSec: 30
      duration: 10s
      forks:
      - createSubs: *createSubs
      - getSubs: *getSubs
At the first level, you have http section where you can configure HTTP options like the protocol type, TLS, timeouts… in my case I set the host where the traffic will be sent and the sharedConnections, the number of connections to open against the host.
http:
  host: http://localhost:8080
  sharedConnections: 60
Then I defined the phases, in my example I have the rampup and main phases.
In the rampup I want to start sending traffic but not abruptly. To achieve it the phase property “increasingRate” can be used to define the number of requests used initially and the number to reach: initialUsersPerSec and targetUsersPerSec, for a duration of 10s. Then you have to define what is called the forks, the sub-phases of traffic. In my rampup configuration I do not define but point to then because the definition happens in the other phase. Note the * to reference the definition.
- rampup:
    increasingRate:
      initialUsersPerSec: 3
      targetUsersPerSec: 30
      duration: 10s
      forks:
      - createSubs: *createSubs
      - getSubs: *getSubs
There are different types of traffic, being: constantRate, increasingRate, decreasingRate, atOnce, always, noop. The names are descriptive of the purpose.
I have used constantRate in my main phase definition:
constantRate:
  startAfter: rampup
  usersPerSec: 750
  duration: 300s
  forks:
This phase starts after the rampup phase. You can link different type of phases using startAfter. The number of request per second is defined by usersPerSec and also the duration of the traffic being sent with duration. Again, we have to set the forks, but this time they will be defined and not referenced.
Let’s take the first fork as example:
- createJournal: &createJournal
    weight: 3
    scenario:
    - putJournal:
      - randomInt:
          min: 1
          max: 10
          toVar: id
      - httpRequest:
          PUT: /v1/subscribers/${id}/journal
          headers:
            Content-Type: application/json
          body:
            fromFile: journal.json
You define a fork with a name and an address (used for reference). Then you can set a weight. The bigger the weight the more requests will be sent. For instance, if you send 100 request per second, and you have two forks with weight 1, each one will receive 1/(1+1) * 100 requests/s. Then you define a scenario, the HTTP request. Interesting here is the use of variables to be included in the request, in my example you have id variable taking values from 1 to 10. This is included in a PUT URI with some headers and a body. The body can be defined directly in the yaml (consider using | to define multiple lines) or be included by a file. This is what I have done since my body is quite large.
Once you have your traffic scenario defined, you have to upload it to the local hyperfoil server. In the CLI:
upload path/myfile.yaml
The next step is to run traffic:
run my-benchmark
where my-benchmark is the name defined in the yaml file.
You will see live information about the traffic being sent

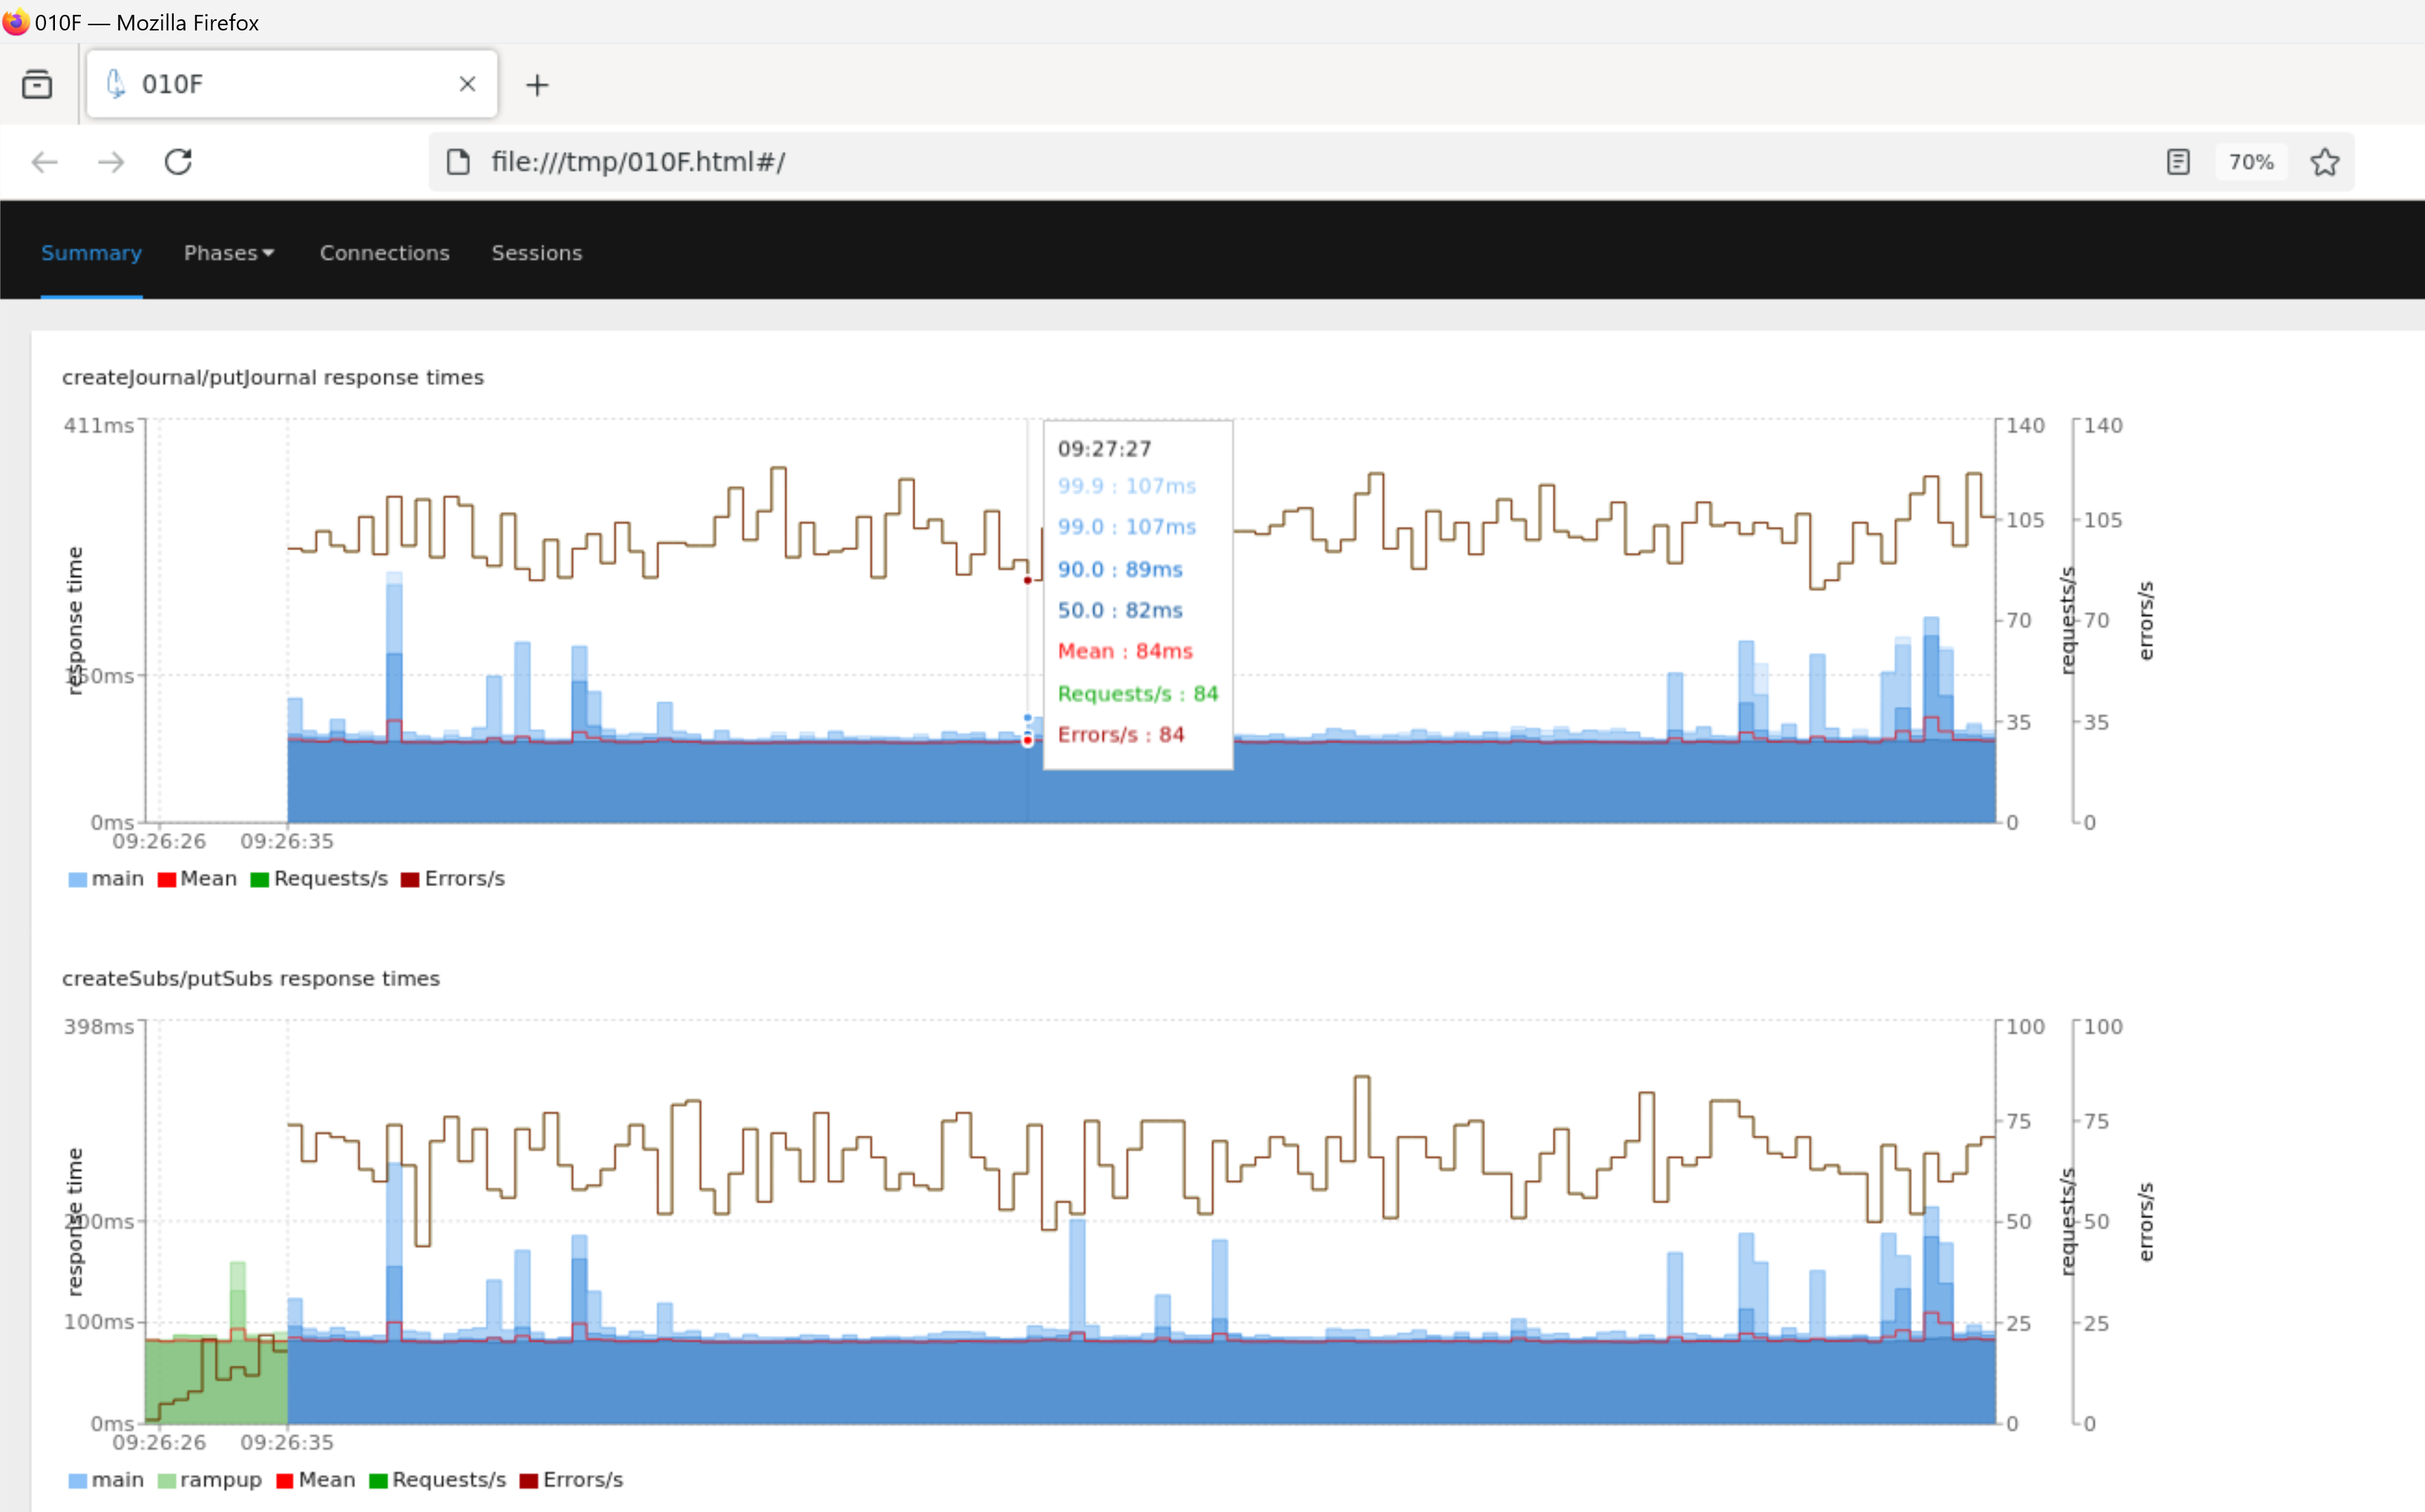
When the traffic execution is finished, you can check some quick stats
stats

and also generate a report with graphs
report --destination <dir>


Conclusion
In my opinion it is a performant tool easy to use with enough configuration option to define flexible burst of traffic to test against some endpoints
